The customer portal in Invoice Office is a self-service client portal: each customer gets their own customer login to your webstore, where they can look up their invoices and order history themselves instead of emailing or calling you. You turn it on per customer under Ecommerce settings, set a username and password, and email the login details straight from the same screen. Quotes work alongside it: send a quote with digital approval and the customer signs it online, with no login needed. It is part of customer management in Invoice Office.
What customers can see and do
Once logged in to your webstore, a customer has five pages in their account menu:
- Invoices: the finalised invoices you have issued to them, whether or not they came from a webstore order. They can Print any invoice or Download PDF. Draft invoices are never shown.
- My orders: their webstore orders with the order number, date placed, total and Ship to address, plus Order detail and a Reorder button that puts the same items back in their cart.
- Favorites: products they have saved from your catalog.
- Profile: their own account details, including their billing and shipping addresses.
- Change password: they can change their own password.
The login page also has Forgot password, so a customer can reset their password without asking you.
Quotes are not listed in the portal. To have a customer approve one, send it with digital approval. See Let customers approve quotes online below.
Step 1: Open Ecommerce settings for the customer
- Go to Accounts → Customers and open the customer. If they are not in Invoice Office yet, create the customer first, with an email address, because that becomes their username.
- In the menu on the left, choose Ecommerce settings.
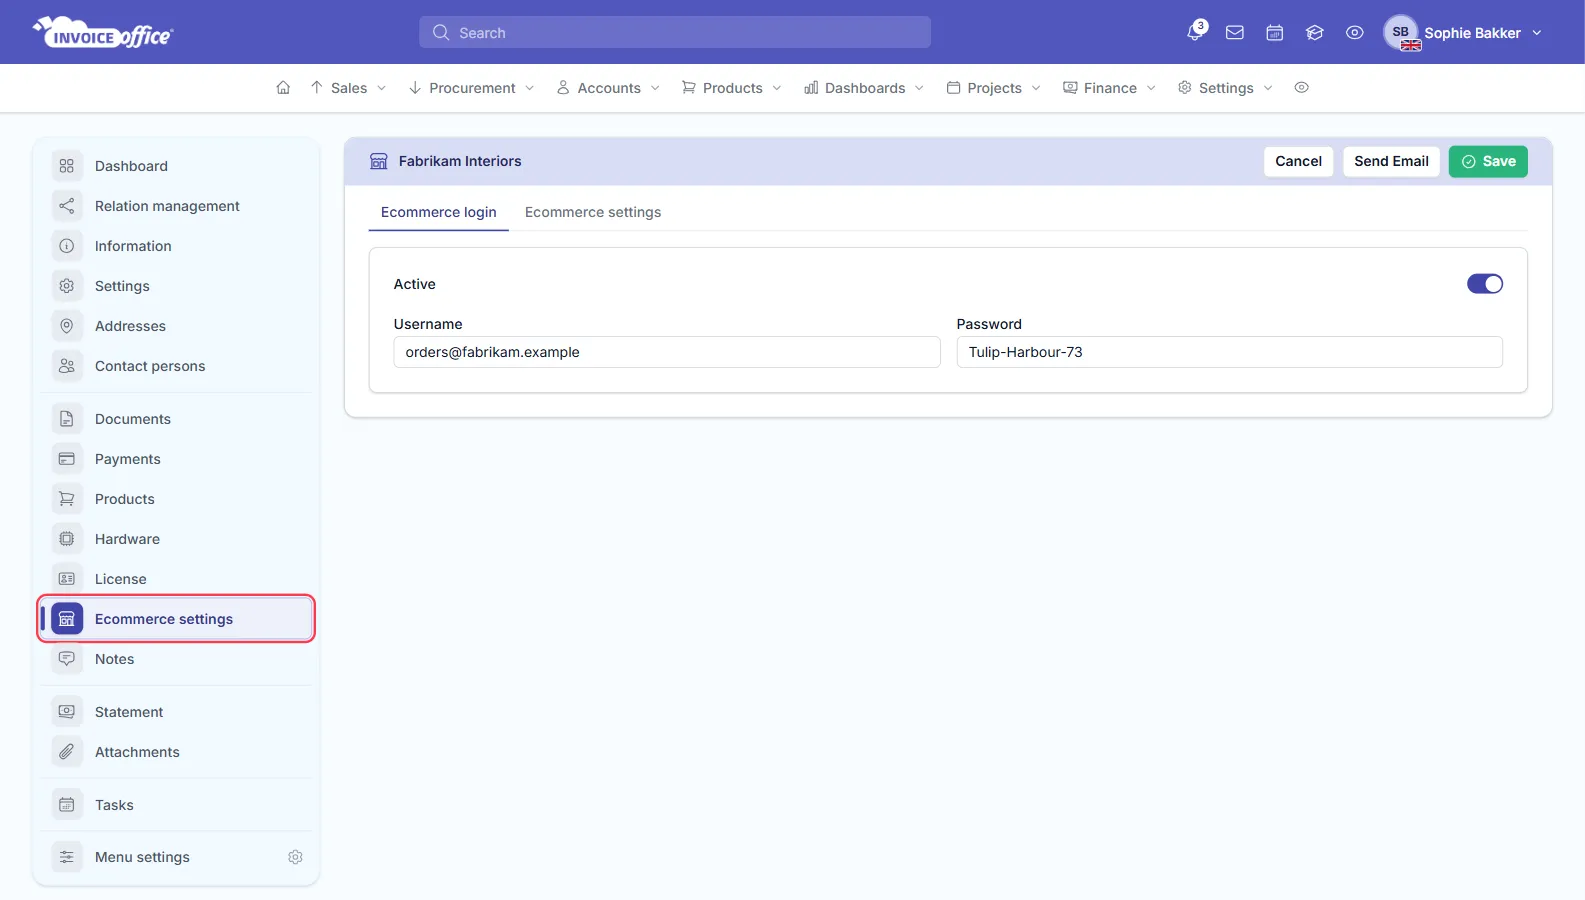
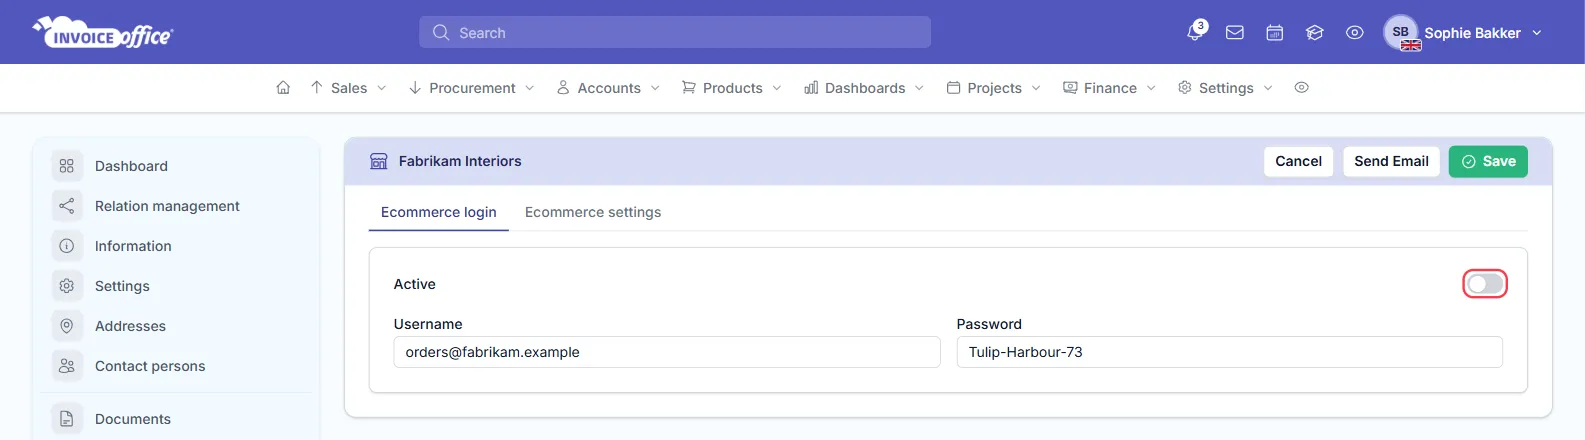
The page has two tabs: Ecommerce login and Ecommerce settings.
Step 2: Turn on the customer login and set a password
On the Ecommerce login tab:
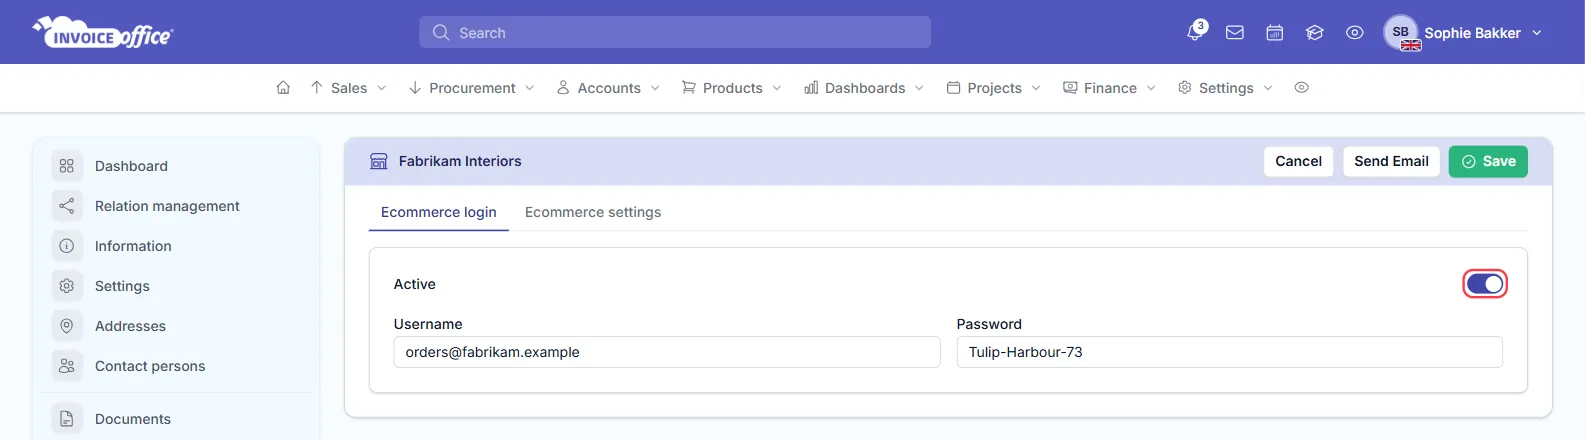
- Check that Active is switched on. It is on by default, and the switch saves straight away, so you do not need to click Save for it.
- Check the Username. It is filled in with the customer’s email address. You can change it, but the login email always shows the customer’s email address, so if you do, tell the customer their username yourself.
- Type a Password for the customer.
Step 3: Choose what the customer sees
On the Ecommerce settings tab:
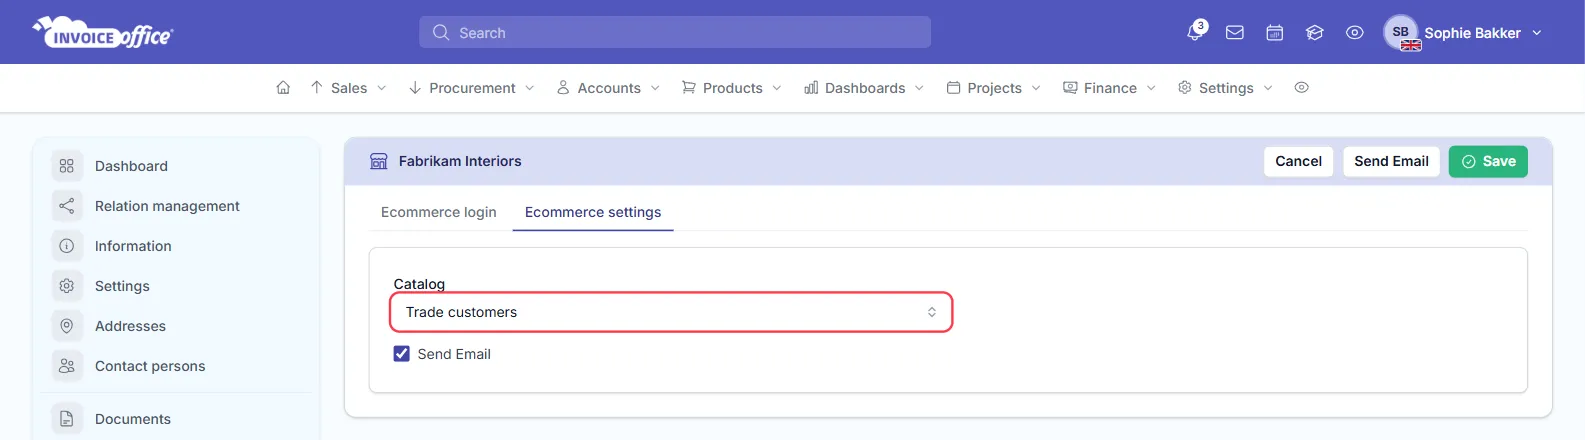
- Pick the Catalog of products this customer sees when they browse your webstore.
- Leave Send Email ticked to email the customer an order confirmation each time they place an order. Untick it if they should not get one.
Step 4: Save or send the login details
- Click Save to store the login without telling the customer, for example if you will give them the password yourself.
- Click Send Email to save the login and email the customer their login details, including their password. The email goes to the email address on the customer.
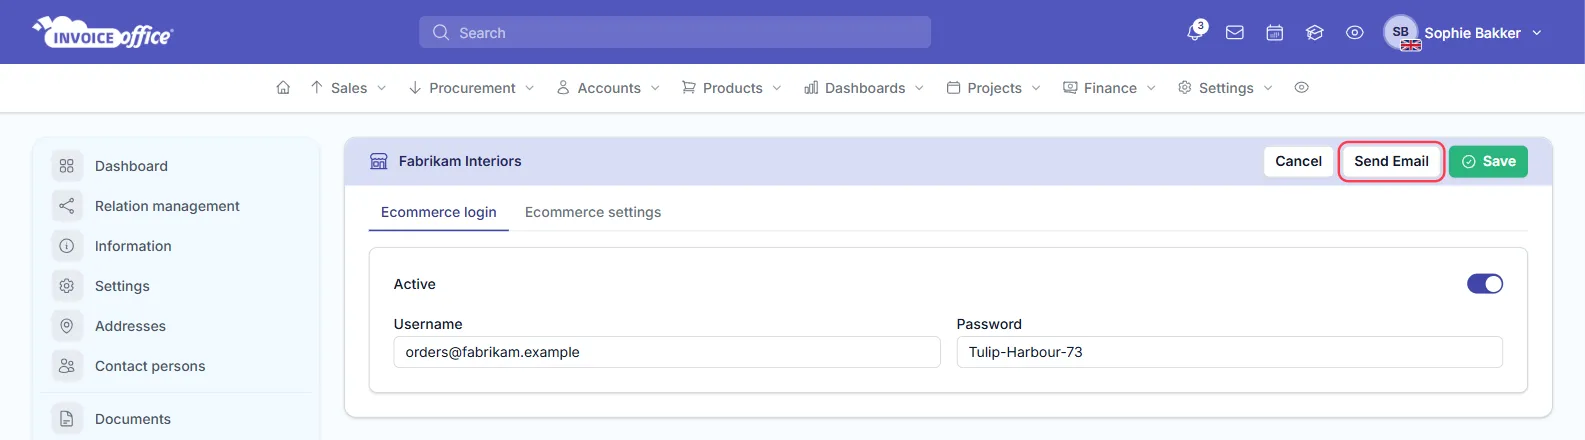
The Password field keeps the customer’s current password, including one they have changed or reset themselves in the webstore. To resend their login details, open Ecommerce settings and click Send Email again. Type a new password first only if you want to change it.
Disable portal access
To stop a customer logging in, open their Ecommerce settings and switch Active off. This takes effect immediately. Their username, password and settings are kept, so switching Active back on restores access without setting it up again.
Let customers approve quotes online
Quote approval does not need a portal login. Every quote you send with digital approval comes with its own secure link:
-
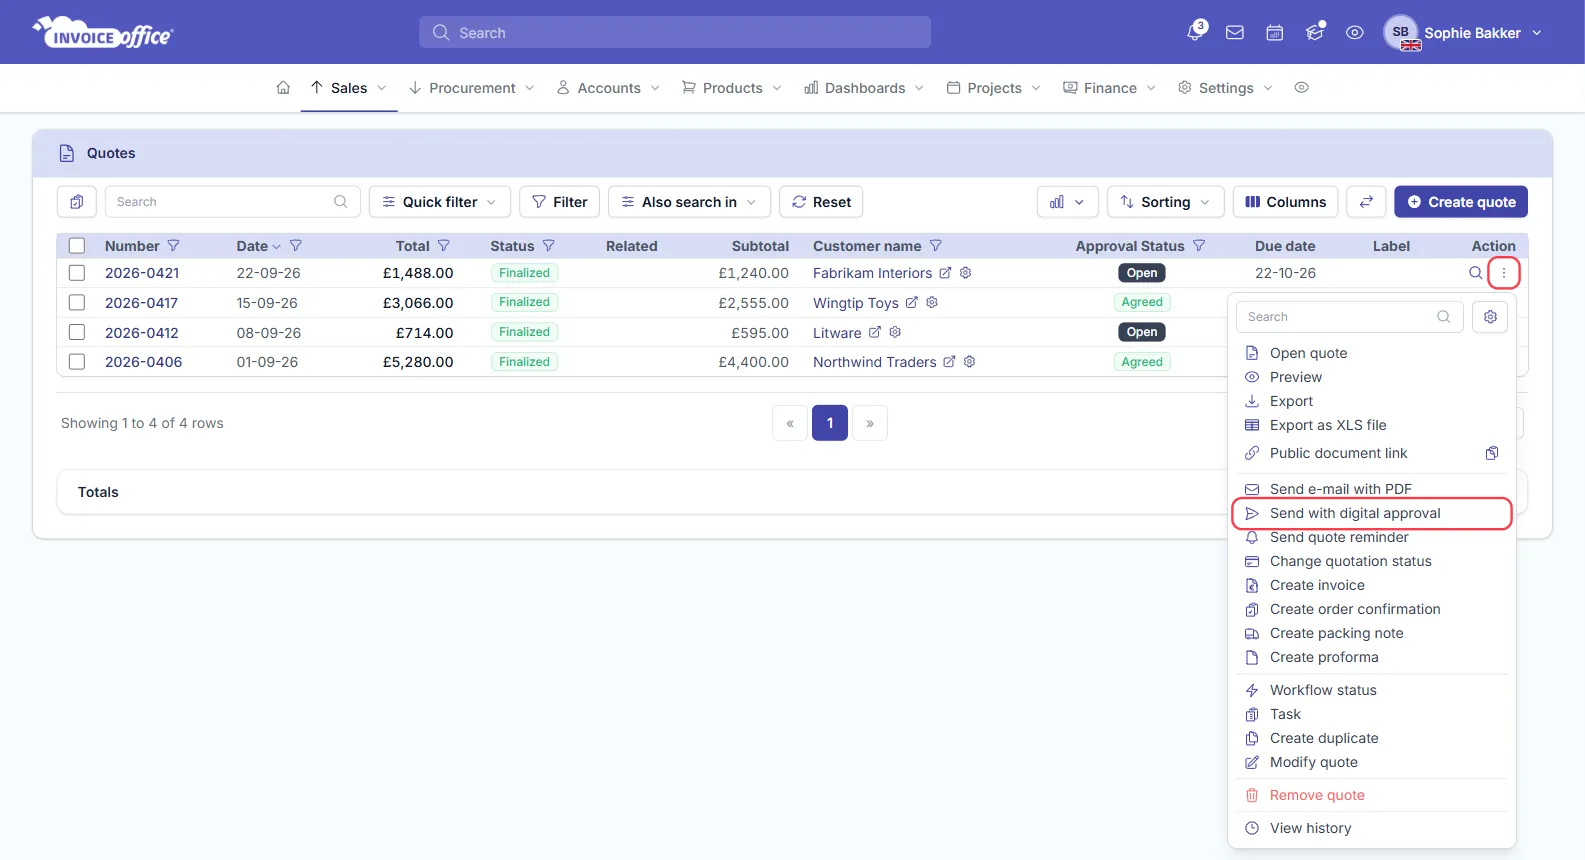
Go to Quotes, open the quote’s Action menu and choose Send with digital approval. (It is also in the quote editor.) Check the email and click Send.
-
The customer opens the online quote from the email, fills in Approver name, Approver place and Approver email, signs in the signature box and clicks Save and approve.
-
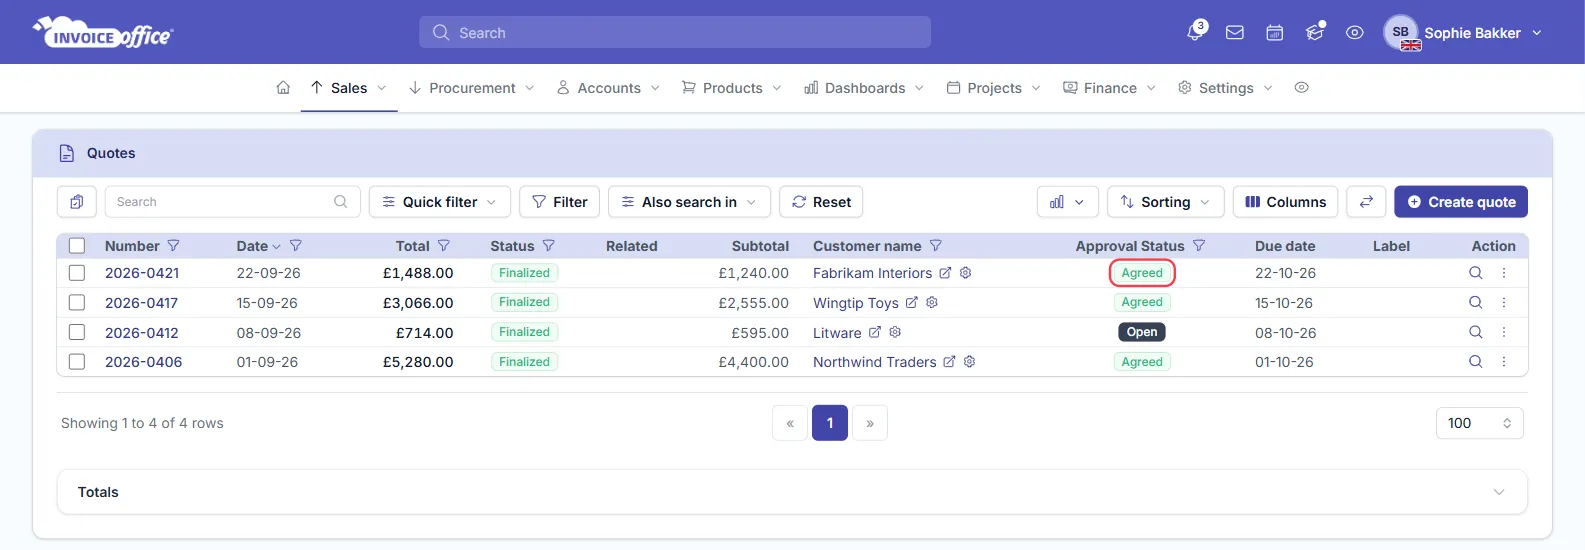
The quote’s Approval Status changes to Agreed. The person who created the quote gets a notification, and an email too if Approval email notification was ticked when the quote was sent.
For writing and sending the quote itself, see how to create a quotation, or read more about quotes in Invoice Office.
Related
- Create a new customer
- Manage customer addresses
- Create a quotation
- Create and manage your users, for giving your own team access to Invoice Office rather than your customers