Your company details in Invoice Office are the business information your documents are built from: your company name, address, VAT number, phone number, email and website. You enter them once in your company settings, and Invoice Office fills them into every invoice, quote and other document you send. Your logo, default currency and language are set in three other places — this guide walks through all of them, in the order you would set up a new account.
Step 1 — Open your company information
- Go to Settings → Company → Company information.
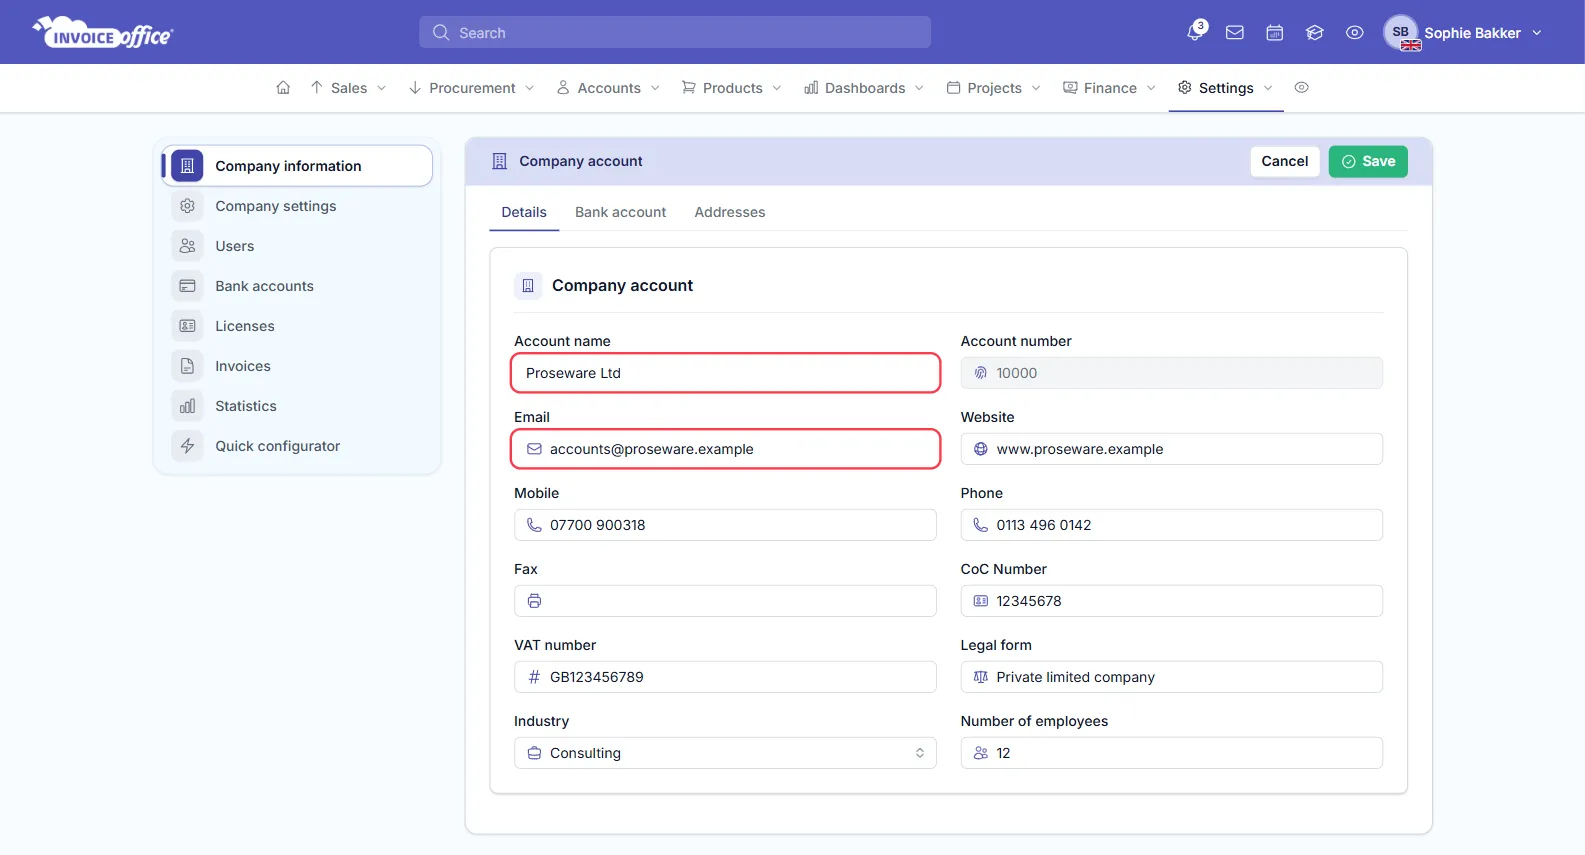
- The Company account page opens with three tabs: Details, Bank account and Addresses.
One Save button at the top of the page stores all three tabs at once.
Step 2 — Add your company name and contact details
On the Details tab, fill in:
- Account name — your company name, as it should appear on your documents. Required.
- Email — your company’s email address. Required.
- Phone and Website — the number and web address customers can reach you on.
- Mobile and Fax — optional.
The same tab has room for your Legal form, Industry and Number of employees.
Step 3 — Enter your VAT and registration numbers
Still on the Details tab:
- VAT number — your VAT or tax registration number.
- CoC Number — your chamber of commerce or company registration number.
This is the VAT number that identifies your company on a document. The VAT rates you charge are set up separately — see how to change the VAT.
Step 4 — Add your company address
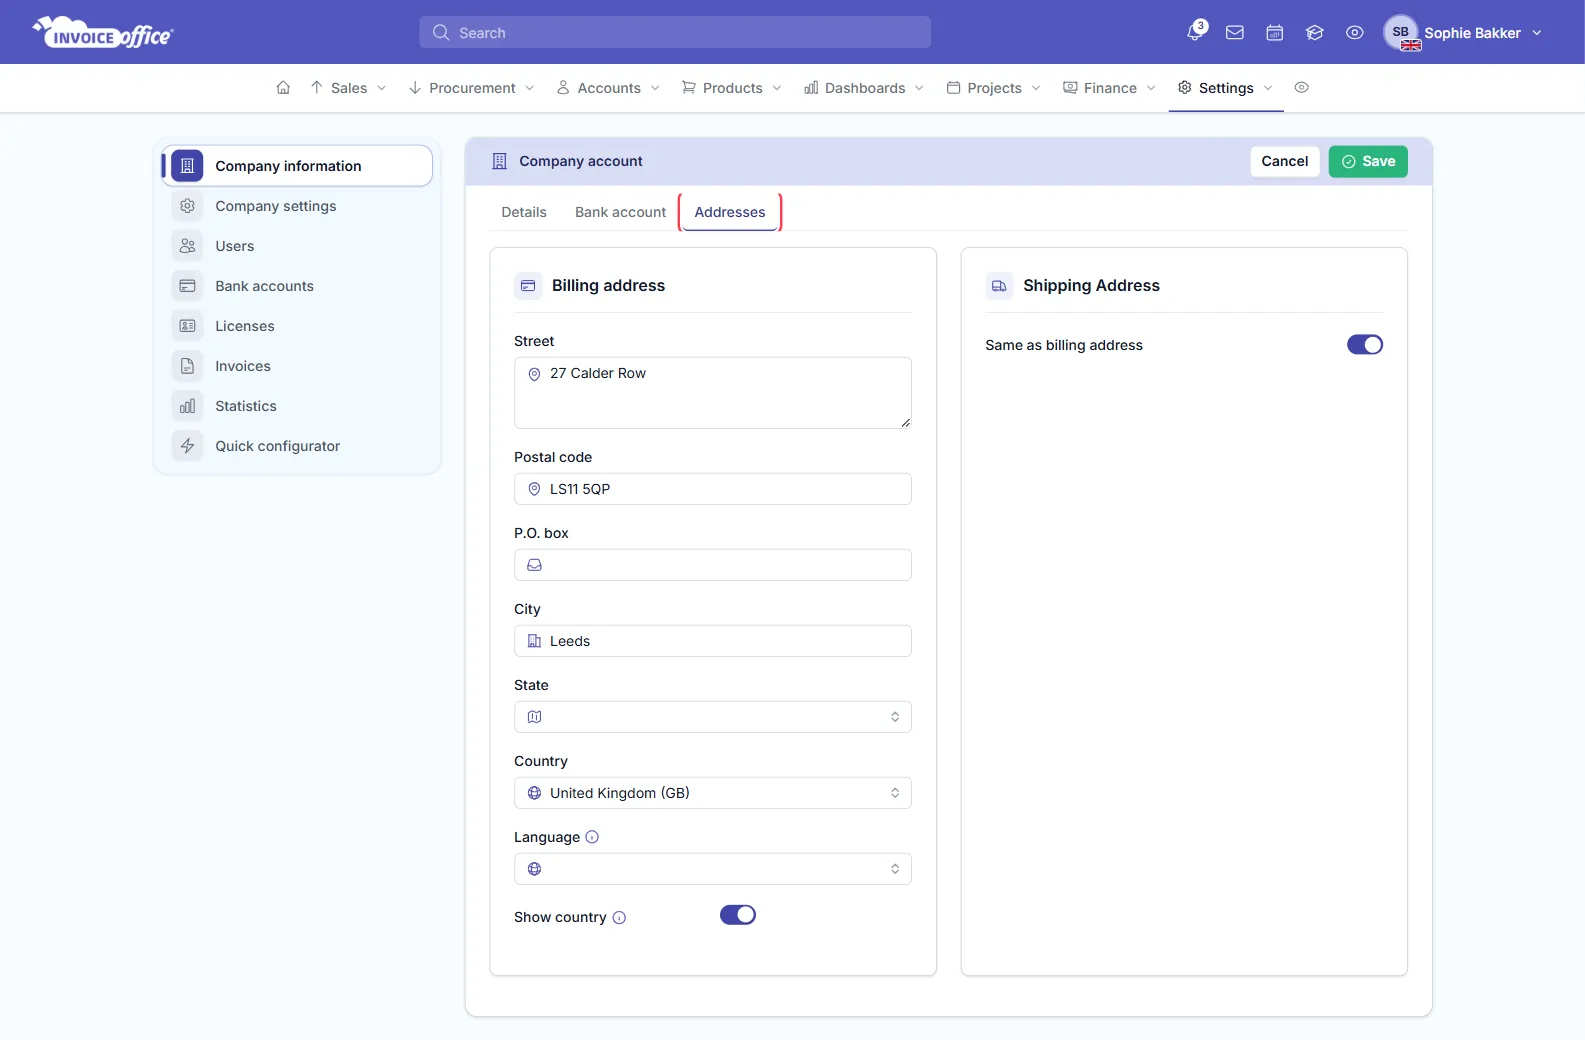
- Open the Addresses tab.
- Under Billing address, fill in Street, Postal code, City and Country. Street, city and country are required.
- Under Shipping Address, leave Same as billing address switched on — or switch it off and enter a separate address.
- Click Save.
The billing address is the one your documents use for your company’s address.
The Bank account tab holds your bank name, account number and BIC. See how to add your bank account details to invoices.
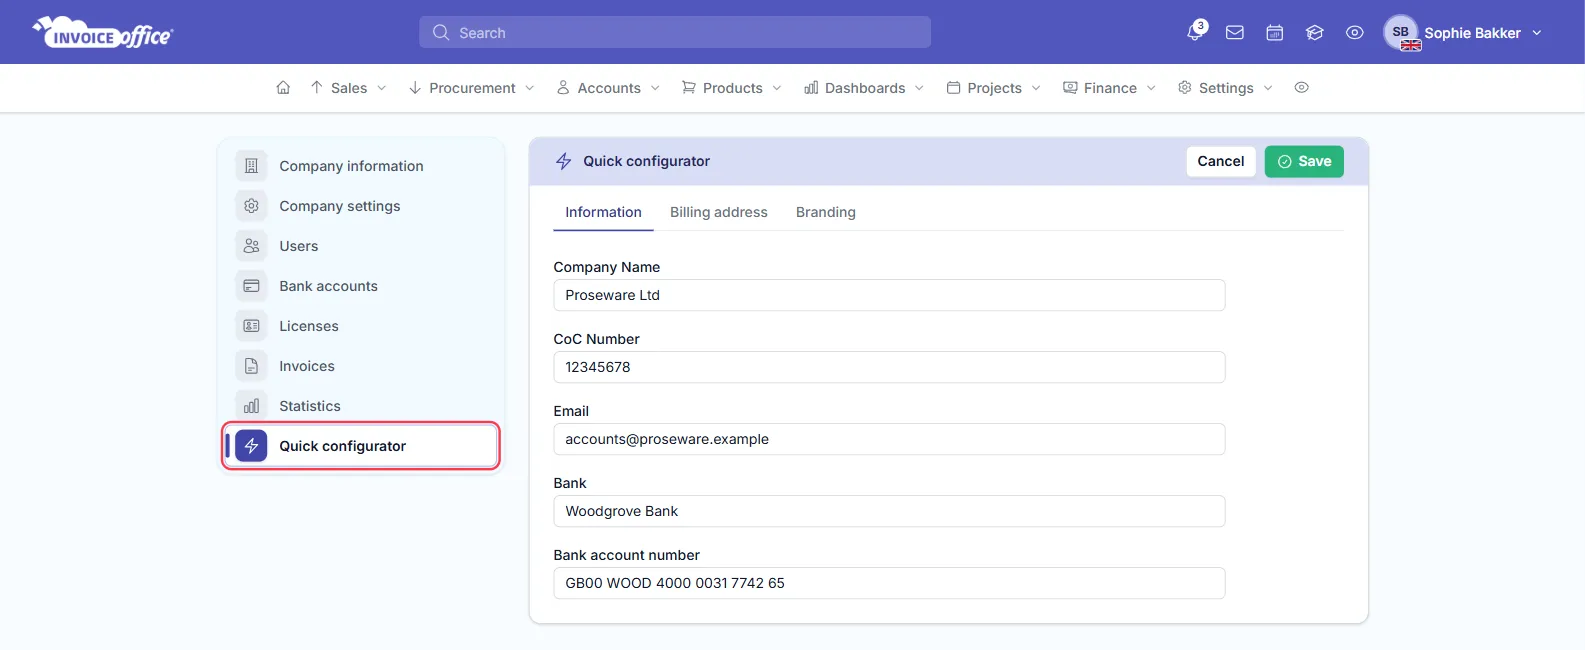
Tip: Quick configurator, in the menu on the left of the same page, puts the essentials — company name, CoC number, email, bank account and billing address — on a single page.
Step 5 — Upload your company logo
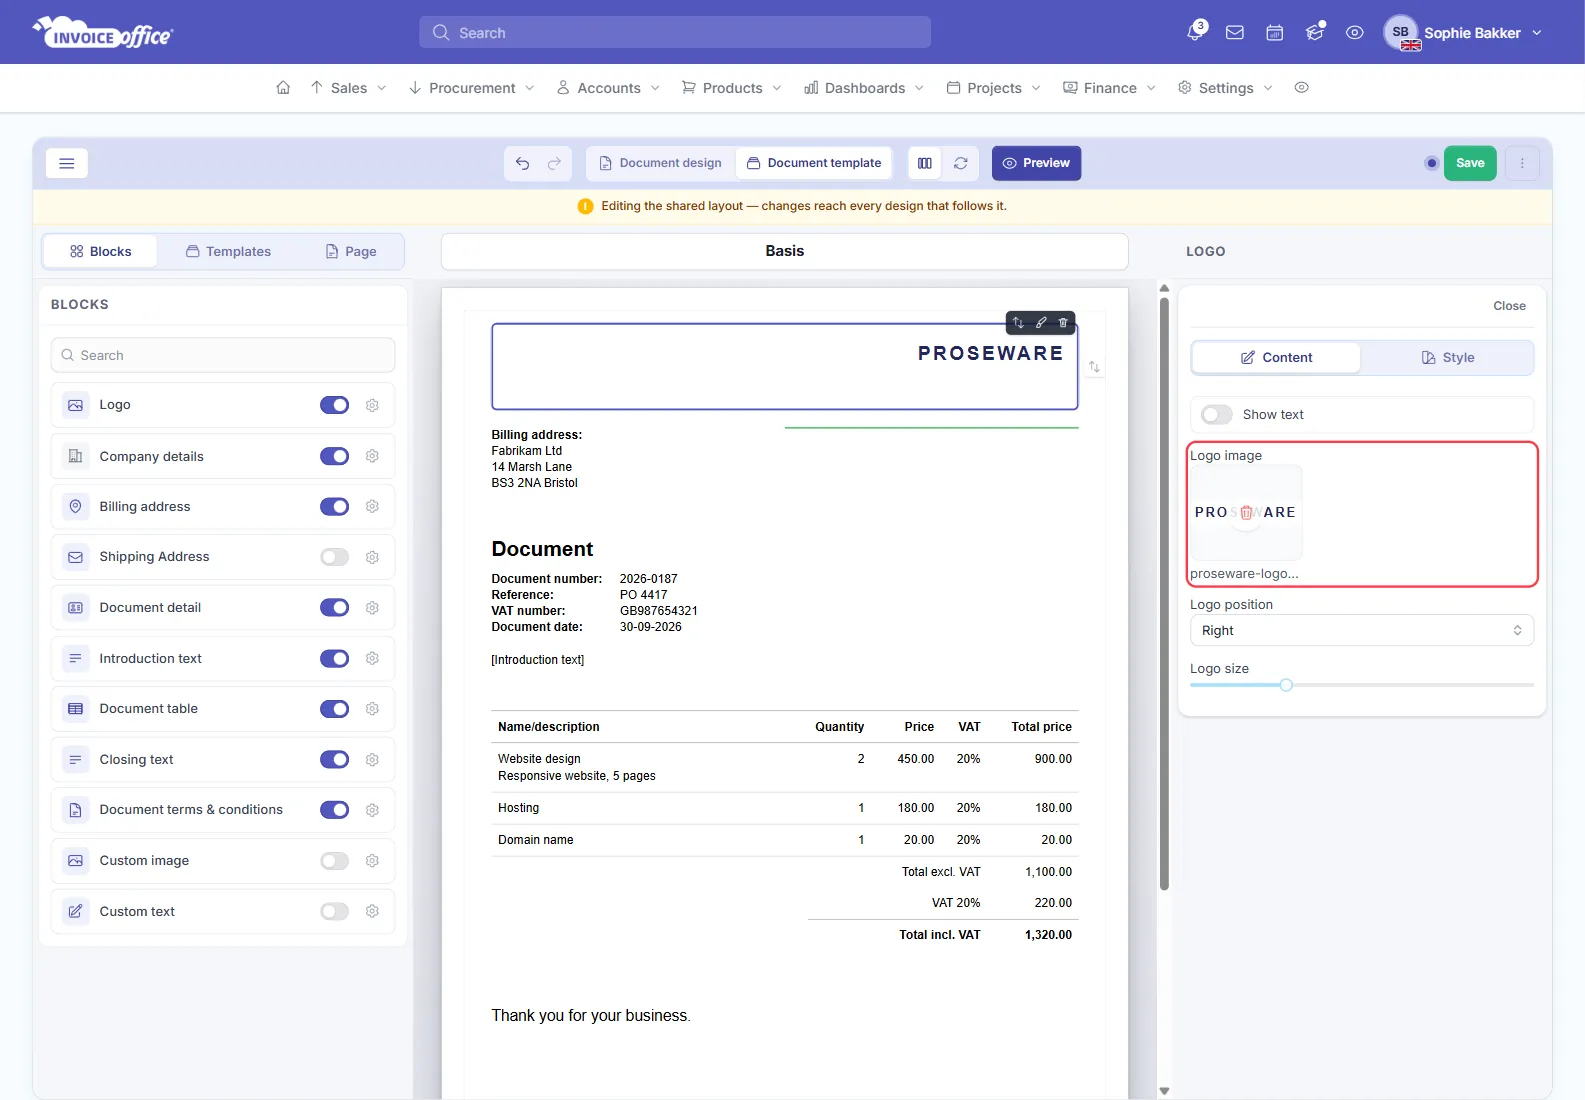
Your logo is not part of the company information page. It belongs to the document template, so it is uploaded in the document design editor:
- Go to Settings → Documents → Document designs, pick the language and open a design.
- If the toolbar shows a Document design / Document template switch, choose Document template.
- On the Blocks tab, open the Logo block. Leave Show text switched off and add your file under Logo image.
- Set the Logo position and Logo size, then click Save.
The full walkthrough is in upload your logo and background image.
Step 6 — Set your default currency and language
- Go to Settings → Company → Company settings.
- Open the Country tab.
- Choose your Currency Code — your company’s default currency.
- Set how amounts are written: Currency format (symbol before or after the amount), Show currency symbol, Decimal symbol and Thousand sign.
- Choose your Language.
- Click Save.
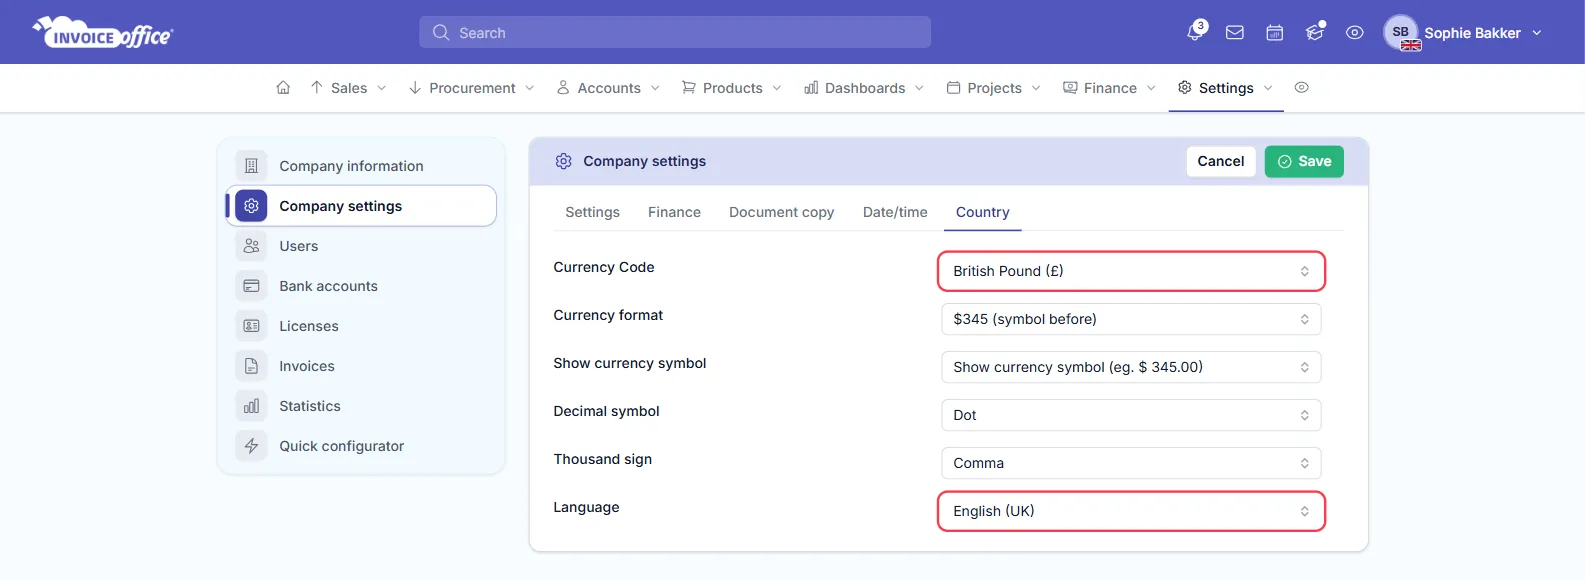
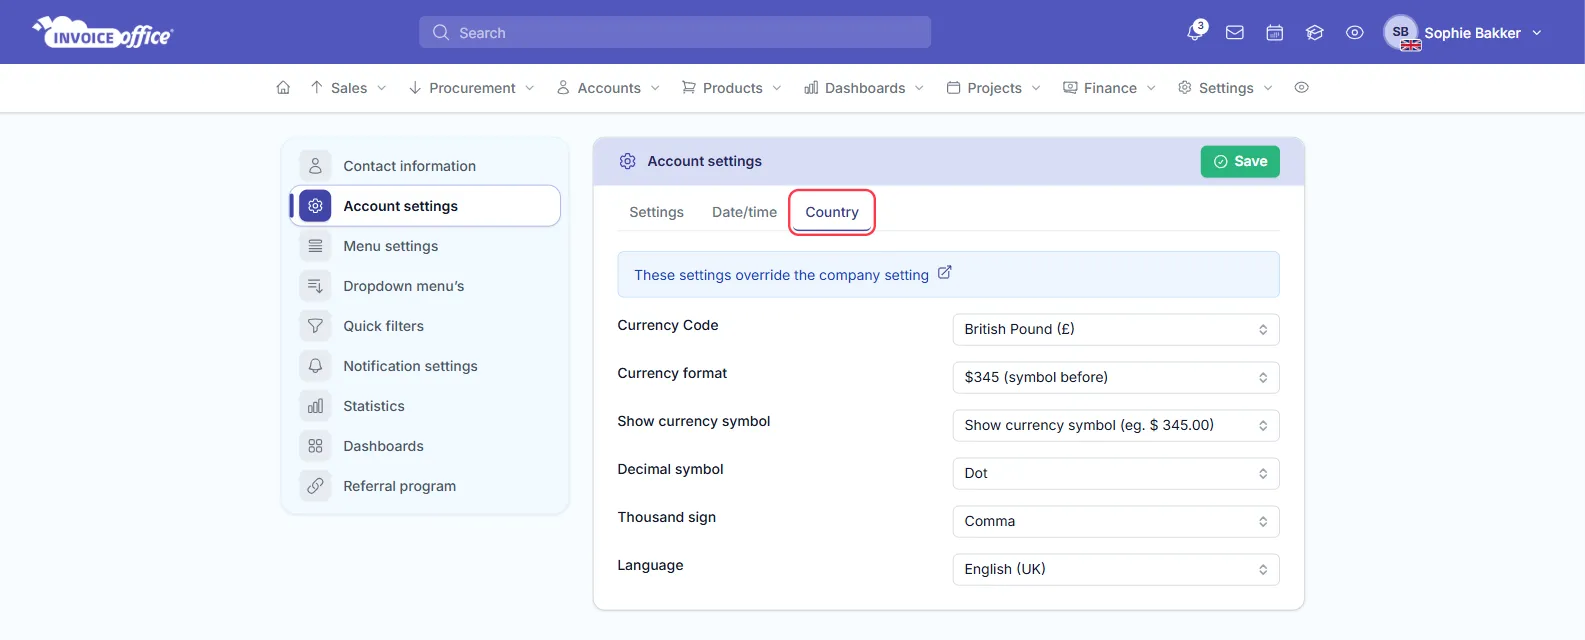
These are the defaults for your whole company. Each user can choose a different currency and language for themselves: click your name at the top right, choose Account settings and open its Country tab.
To invoice a customer in another currency, see how to manage multiple currencies.
Step 7 — Preview how your details appear on a document
Your details reach a document through the Company details block of the document template. To check the result:
- Go to Settings → Documents → Document designs and open a design.
- If the toolbar shows a Document design / Document template switch, choose Document template. On the Blocks tab, make sure the Company details block is switched on.
- Click Preview. Invoice Office builds a sample document with demo lines and your own company details.
![The Invoice Office document template editor with the Company details block and the Preview button outlined in red; the sample document's footer shows Proseware Ltd's address, phone, email, website, CoC number, VAT number and bank details, and the panel on the right lists Footer text 1 with the placeholders [accountName], [accountAddressStreet], [accountAddressPostalcode] [accountAddressCity] and [accountAddressCountry]](/_astro/support-company-details-block-preview.CySuYJpT_Zftf4y.webp)
You can also open an invoice and use Preview to see it as your customer will — see how to create an invoice.
Placeholders that print your company details
The Company details block holds four pieces of text — Footer text 1 to Footer text 4 — and each can be shown in the Header or the Footer; see how to set footers and a signature. The text is made of placeholders that Invoice Office replaces with your company information:
| Placeholder | What it prints |
|---|---|
[accountName] | your Account name |
[accountAddressStreet] | the Street of your billing address |
[accountAddressPostalcode] | its Postal code |
[accountAddressCity] | its City |
[accountAddressCountry] | its Country |
[accountPhoneNumber] | your Phone number |
[accountEmail] | your Email |
[accountWebsite] | your Website |
[accountVatNumber] | your VAT number |
[accountCocNumber] | your CoC Number |
If a detail is missing from the document, check that the field is filled in on Company
information and that its placeholder is in the Company details block. A label-and-value line
such as [labelVatNumber]: [accountVatNumber] is left out when the field is empty, so you never
print an empty label.